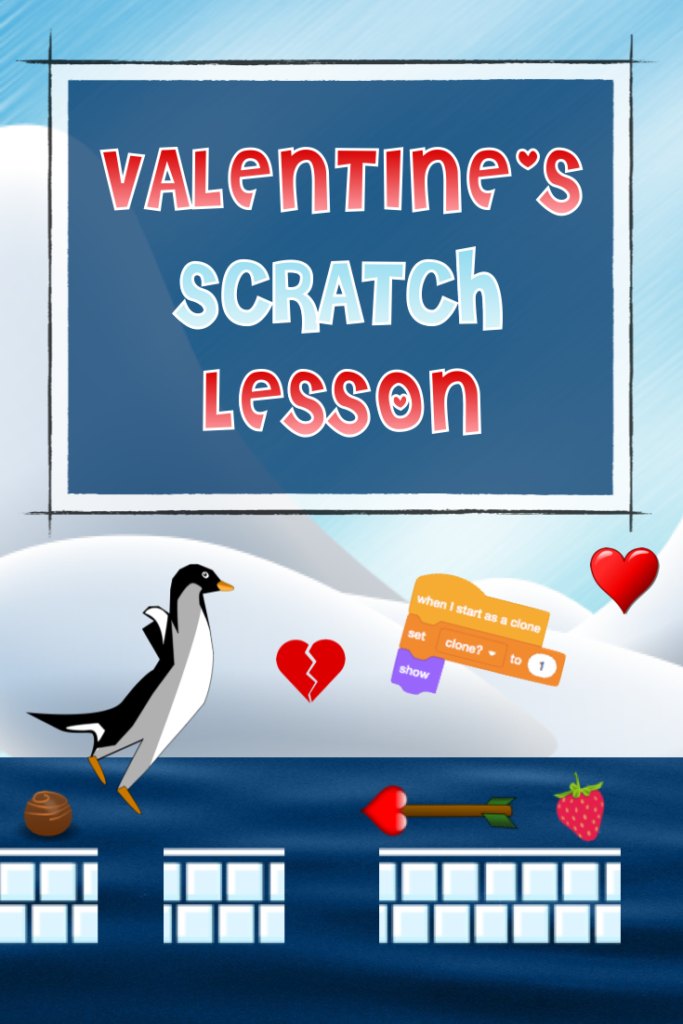
Valentine's Scratch Lesson:
Hearts & Arrows!
The idea to create a ‘hearts & arrows’ game for Valentine’s Day came from my eight year old daughter! Why I decided to use a penguin as the main character, I’m not really sure. But I have been using the image of a penguin to convey many of the messages in my recent blog posts, so maybe it was time to use a penguin as the main character in one of my games as well.

In any case, as soon as we decided it was going to be a penguin, my 11 year old and I got busy drawing the different frames for our dear character. This turned out to be a much more complicated task than I had originally estimated. I discovered that my boys, who have been doing Parkour for years, are extremely particular about the way one jumps and falls! None of my original drawings seemed realistic enough to them! They were so unsatisfied with my work that we ended up converting some real footage of penguins jumping into individual frames, and then we referenced those to figure out the different jumping positions!
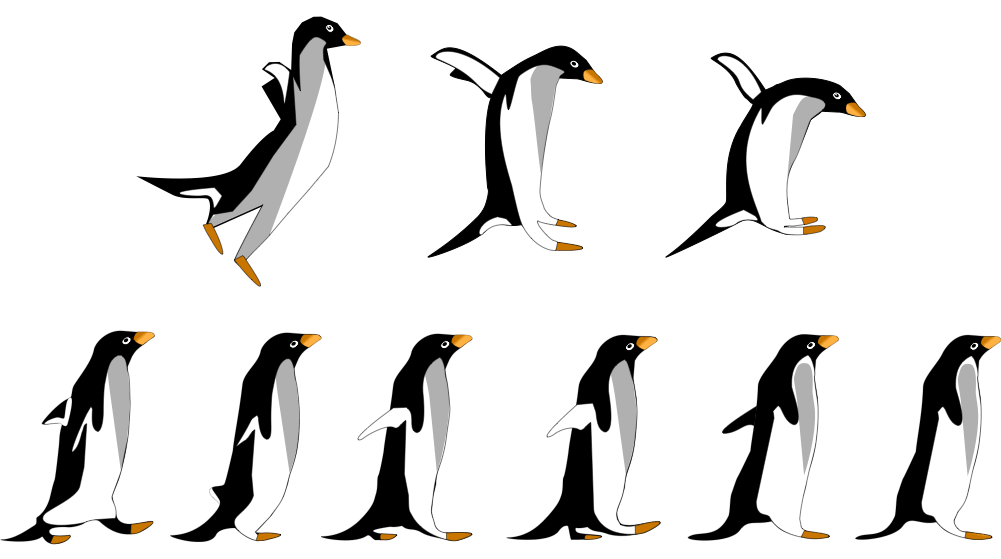
So, if you were ever wondering who critiques my work, now you know! I have to admit, though, I'm very happy with the final product! We ended up creating 6 walking and 3 jumping frames for our dear penguin, and the starter project for this lesson actually comes with the penguin already animated! It also comes with a side-scrolling background. Since my last post was all about creating the side-scrolling effect in Scratch, I decided to focus this post on using an animated background to actually create a game! So, in this lesson, we'll learn how to add power-ups and obstacles to our game, how to introduce the game, and how to end it!

An Introduction to the 'Hearts & Arrows' Scratch Valentine's Game!
The video below describes how the game works and what we're going to be doing. I always start with this type of introduction when teaching my students how to create a new game in Scratch. Feel free to play the introduction below in your own classroom. I recommend stopping the video and using the arrow keys to progress through it. That works best for me as it allows me to speak and move at my own pace, while I'm running it.

The Starter Project
Click the button below and enter your email address to have the starter project sent to you. The email you'll receive will contain instructions for how to upload the starter project onto your Scratch account. If you're planning on teaching this game, I suggest sharing the project at this point, and then adding it to your Scratch class studio and having your students remix it from there. If you don't have a class studio, you can just share the project's url with your students. As long as you remember to click that 'Share' button inside your own copy of the starter project, your students will be able to remix it into their own Scratch accounts.


Valentine's Scratch Lesson Step 1: Move and Clone Them!
The 'Sweets & Arrows' sprite came with three different costumes: the strawberry costume, the chocolate costume, and the arrow costume. Our goal in this step is for the computer to, every few seconds, randomly select one of these costumes. We'll then have a clone of this sprite, dressed in the costume selected, travel from the right to the left edge of the stage.
Valentine's Scratch Lesson Step 2: Turn It into a Game!
The second step is really where we turn this into a game! We learn how to use the same sprite to generate both power-ups and obstacles, and how to give our main character a consequence when running into either one. This tutorial, although not long, deals with adding score to your game, broadcasting messages, and even certain aspects of cloning. It really is the heart of this lesson!

Valentine's Scratch Lesson Step 3: Add Messages!
Finally, it's time to use our 'Messages' sprite! Learning how to effectively communicate with the user is an integral part of game design. The tutorial below will walk you through adding a 'Game Over' message, and also an introduction to your game.

And that completes the first part of the 'Hearts & Arrows' Scratch Valentine's game! Next week, I'll show you how to add lives to this game, and how to make it just a bit more challenging by dropping those hearts!
I hope you enjoy teaching this game as much as I enjoyed creating it! As always, I welcome any feedback you may have, and if you end up teaching this game, I'd love to hear how it went!

So, please join the conversation inside our Facebook group for teachers. I just love all the ideas and support I get in there, and I'm sure you will, too!
Warm wishes for a happy Valentine’s Day!