Scratch Lesson:
The Side-Scrolling Effect
I love the look in my students’ eyes the first time I introduce them to creating the side-scrolling effect in Scratch! It’s as if I just showed them how to create magic, and in a way, I guess, maybe I did. Just like with magic, the side-scrolling effect is an illusion!

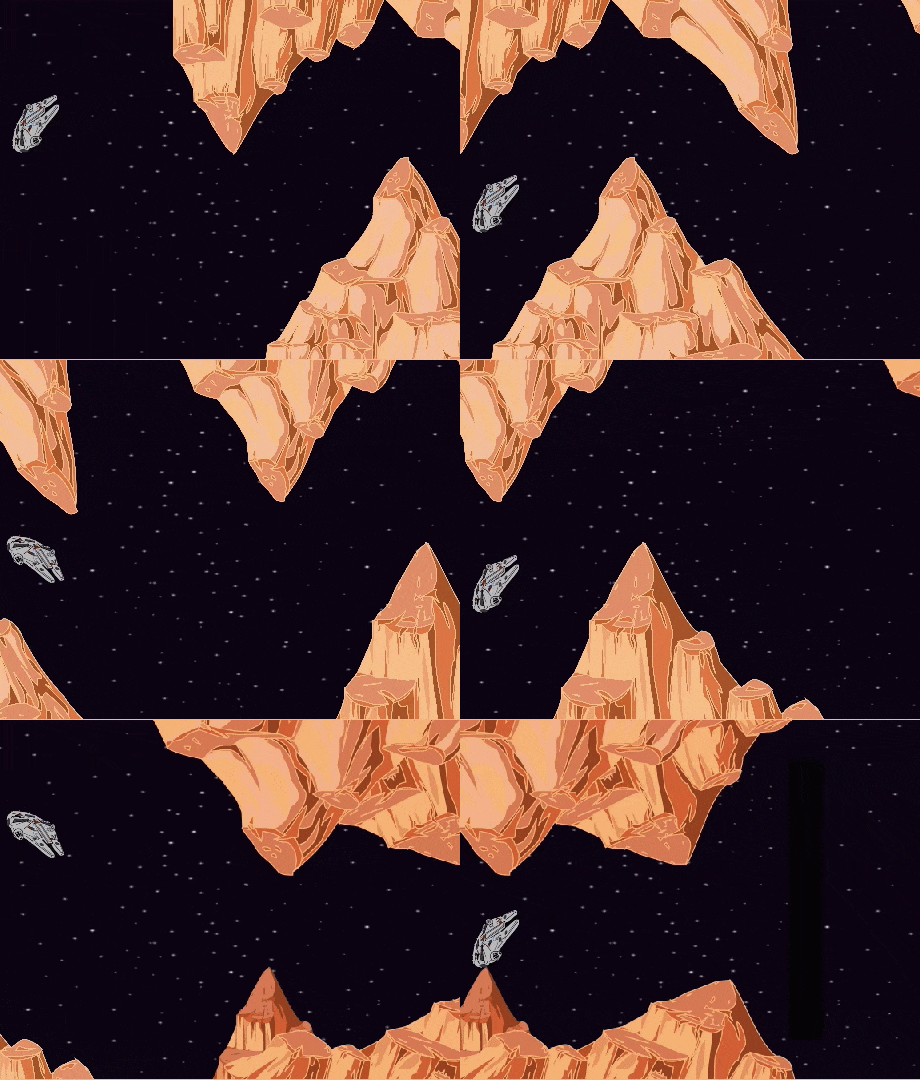
Take a look at the gif above. It looks like the spacecraft is traveling in the nightly sky, moving from left to right. But, in fact, the spacecraft is only moving up and down. What is creating the illusion of the spacecraft moving from left to right is a moving background. By creating a moving background, game designers are able to extend a limited play field like the Scratch stage, and build whole new worlds!

So, today I’m going to show you how to create the side-scrolling effect in Scratch, and I’m super excited as this is also my first Scratch post which is going to be done completely in the new version of Scratch - Scratch 3.0!

I’m going to walk you through the lesson step-by-step, so even if you’re just starting out with Scratch, you should be able to follow along. I use lots of animations in the tutorials. I feel animations are useful when explaining almost anything, but with the side-scrolling effect, I felt they were almost essential. As always, feel free to use the tutorials to teach your own students. But first, let's start by getting all set up with the starter project…

Side-Scrolling Scratch Lesson Step 1: Place the Mountains!
In this step and the next, you’ll learn how to create a moving background by having each of the mountain sprites travel through the stage. This first step will walk you through figuring out what the initial position of each mountain sprite should be, and how to tell the computer to place the mountain sprite at this location.

Side-Scrolling Scratch Lesson Step 2: Move the Mountains!
Now that our mountain sprites are placed exactly where we would like them to start, it's time to get them moving! To move the mountain sprites, we’re going to constantly decrease their ‘x’ position. Watch the video below to see how this is done, and by the time you complete the instructions, you’ll have a moving background!

Side-Scrolling Scratch Lesson Step 3: Make It Fly!
In the first two steps, we learned how to (quite literally!) move mountains and create a scrolling background! In this step, we’re going to learn how to get the spaceship to move, but remember, the spaceship only moves up and down – the illusion of it moving sideways is created by our moving mountains!

Turn It into a Game!
And that completes the side-scrolling lesson! At this point, you can leave the project as is, or turn it into a complete game. Below you can find the 4 additional steps I took to turn this project into a game.
4 Steps to Turn This Project into a Game
I teach the complete game inside Part 1 of our Game Design Program and usually also during our Teachers Challenges. Make sure you join our Facebook group for teachers, and you'll be informed when I'm ready to launch the next challenge.
I hope you enjoy teaching this lesson! I have many more lessons I plan to add to the blog, so please stay tuned and comeback and visit often!


