


Decoding the Magic of Animated Lessons:
A Behind-the-Scenes Look
I frequently find one burning question in my inbox: "How do you create those captivating animated tutorials for your coding lessons?" There's a sincere foundation to this curiosity. Educators who've integrated these lessons into their curriculum often sing praises of their effectiveness and appeal.
Not only do these tutorials enhance engagement, but they also offer unparalleled adaptability. They remain robust whether educators are transitioning to remote teaching in pandemic times or tailoring instruction to diverse student needs. While you can explore the "why" behind the allure of these animated lessons here, today, we'll delve into the "how."
Now, it's important to note that a single blog post can't fully encompass the intricacies of this craft. That's precisely why I've developed a detailed 5-day challenge and a comprehensive course covering the topic from end to end. However, for now, I'll be pulling back the curtain to give you a glimpse into my methodology. Ready for a sneak peek?
Let's start by diving into a snippet from a lesson on photosynthesis:

The 5 Key Steps to Animate a Lesson:
Step 1: Draft the Script
Though this step might seem straightforward, it truly is the foundation of your animated lesson. So, let me offer you a couple of insights to set your scripting journey on the right trajectory:
Golden Rule: Script your lesson as if you won't be present to narrate it. Trust me on this - when you craft your lesson with the mindset that you might not be there in person to deliver it, it results in a self-reliant, adaptable, and most engaging teaching tool.
Tool of the Trade: Lean on ChatGPT for script refinement. While I always pen the initial draft myself, ChatGPT has proven to be an incredible ally in honing that draft to perfection.
Here's the script for our photosynthesis segment:
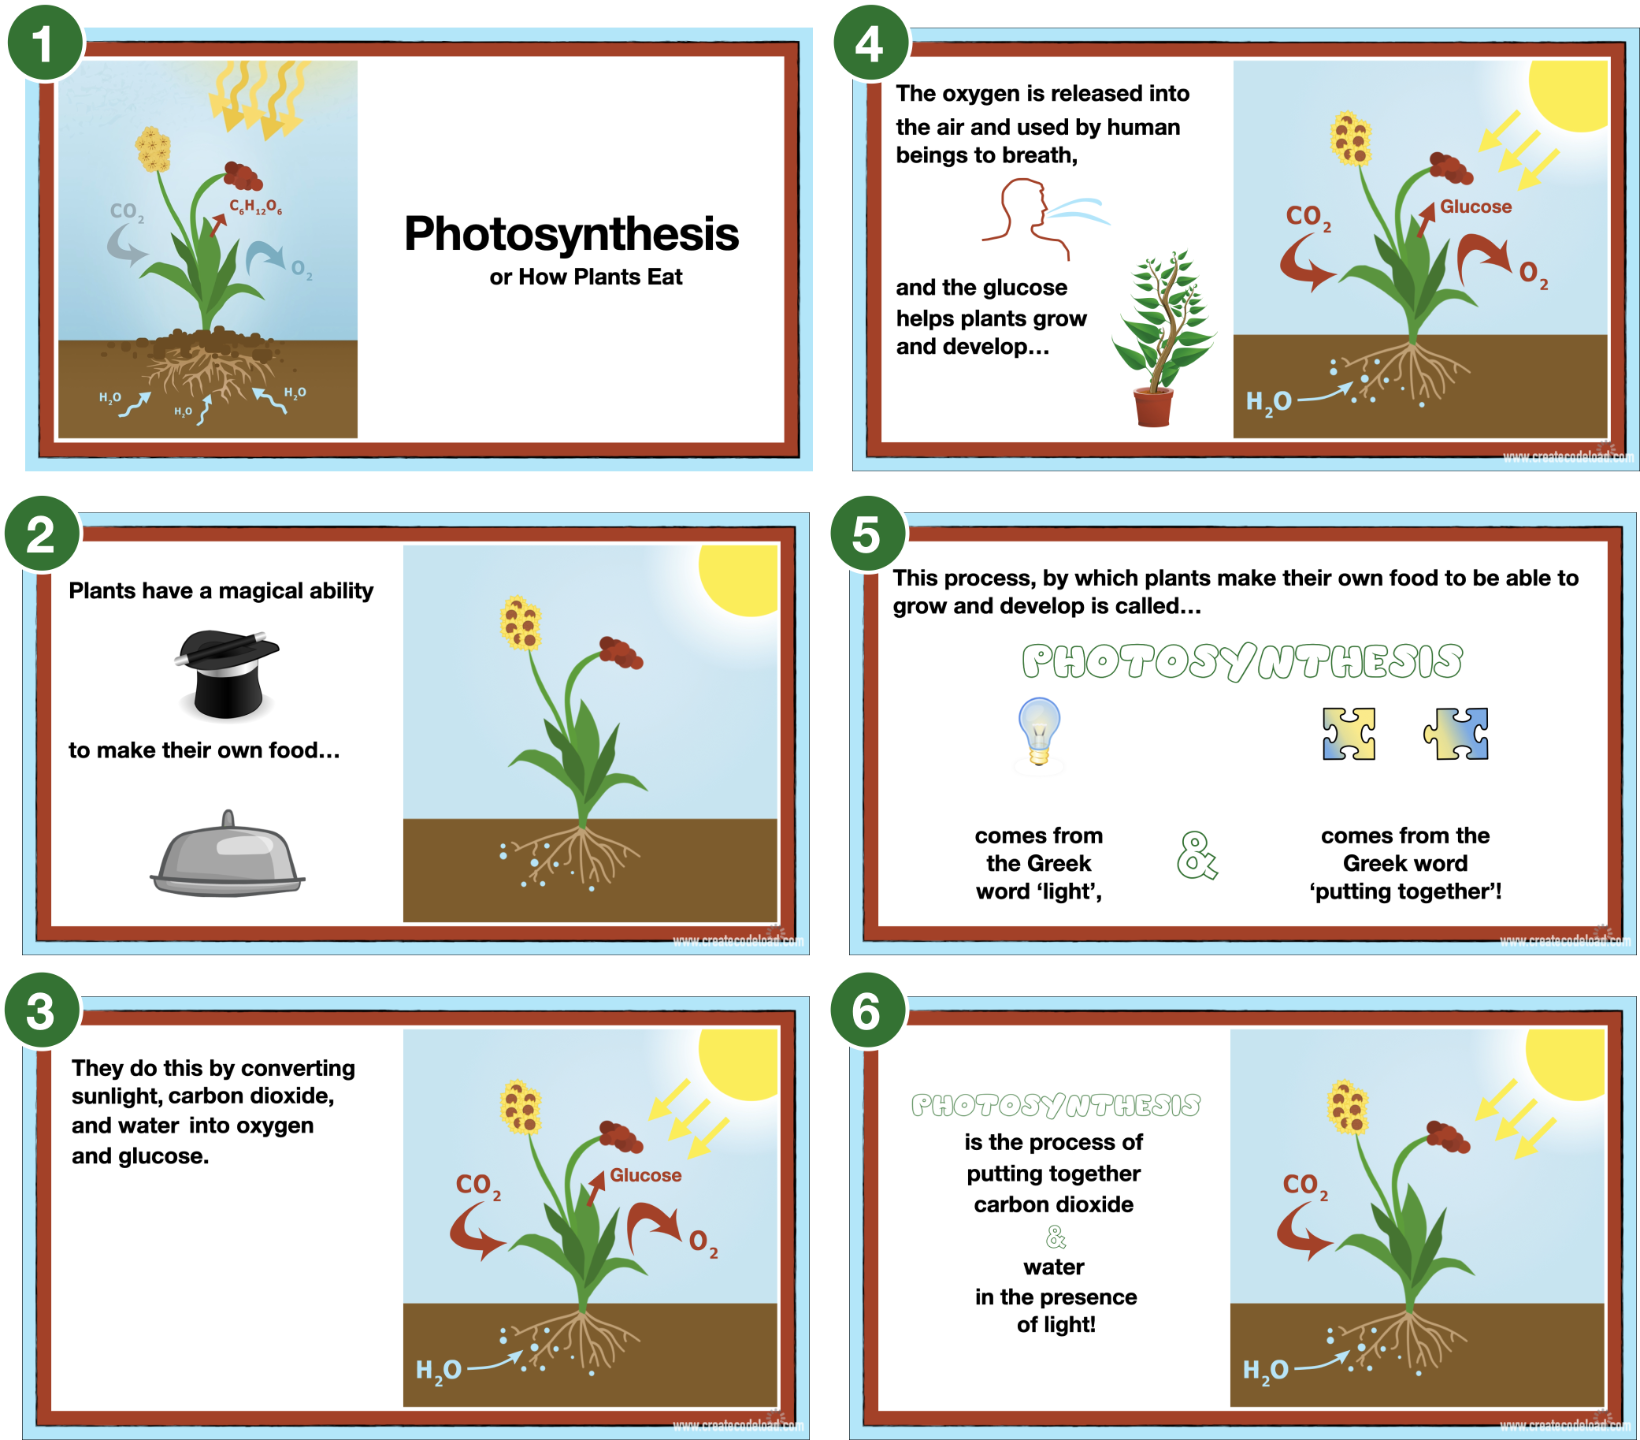
Photosynthesis or How Plants Eat
Plants have a magical ability to make their own food.
They do this by converting sunlight, carbon dioxide and water into oxygen and glucose.
The oxygen is released into the air and used by human beings to breath, and the glucose helps plants grow and develop.
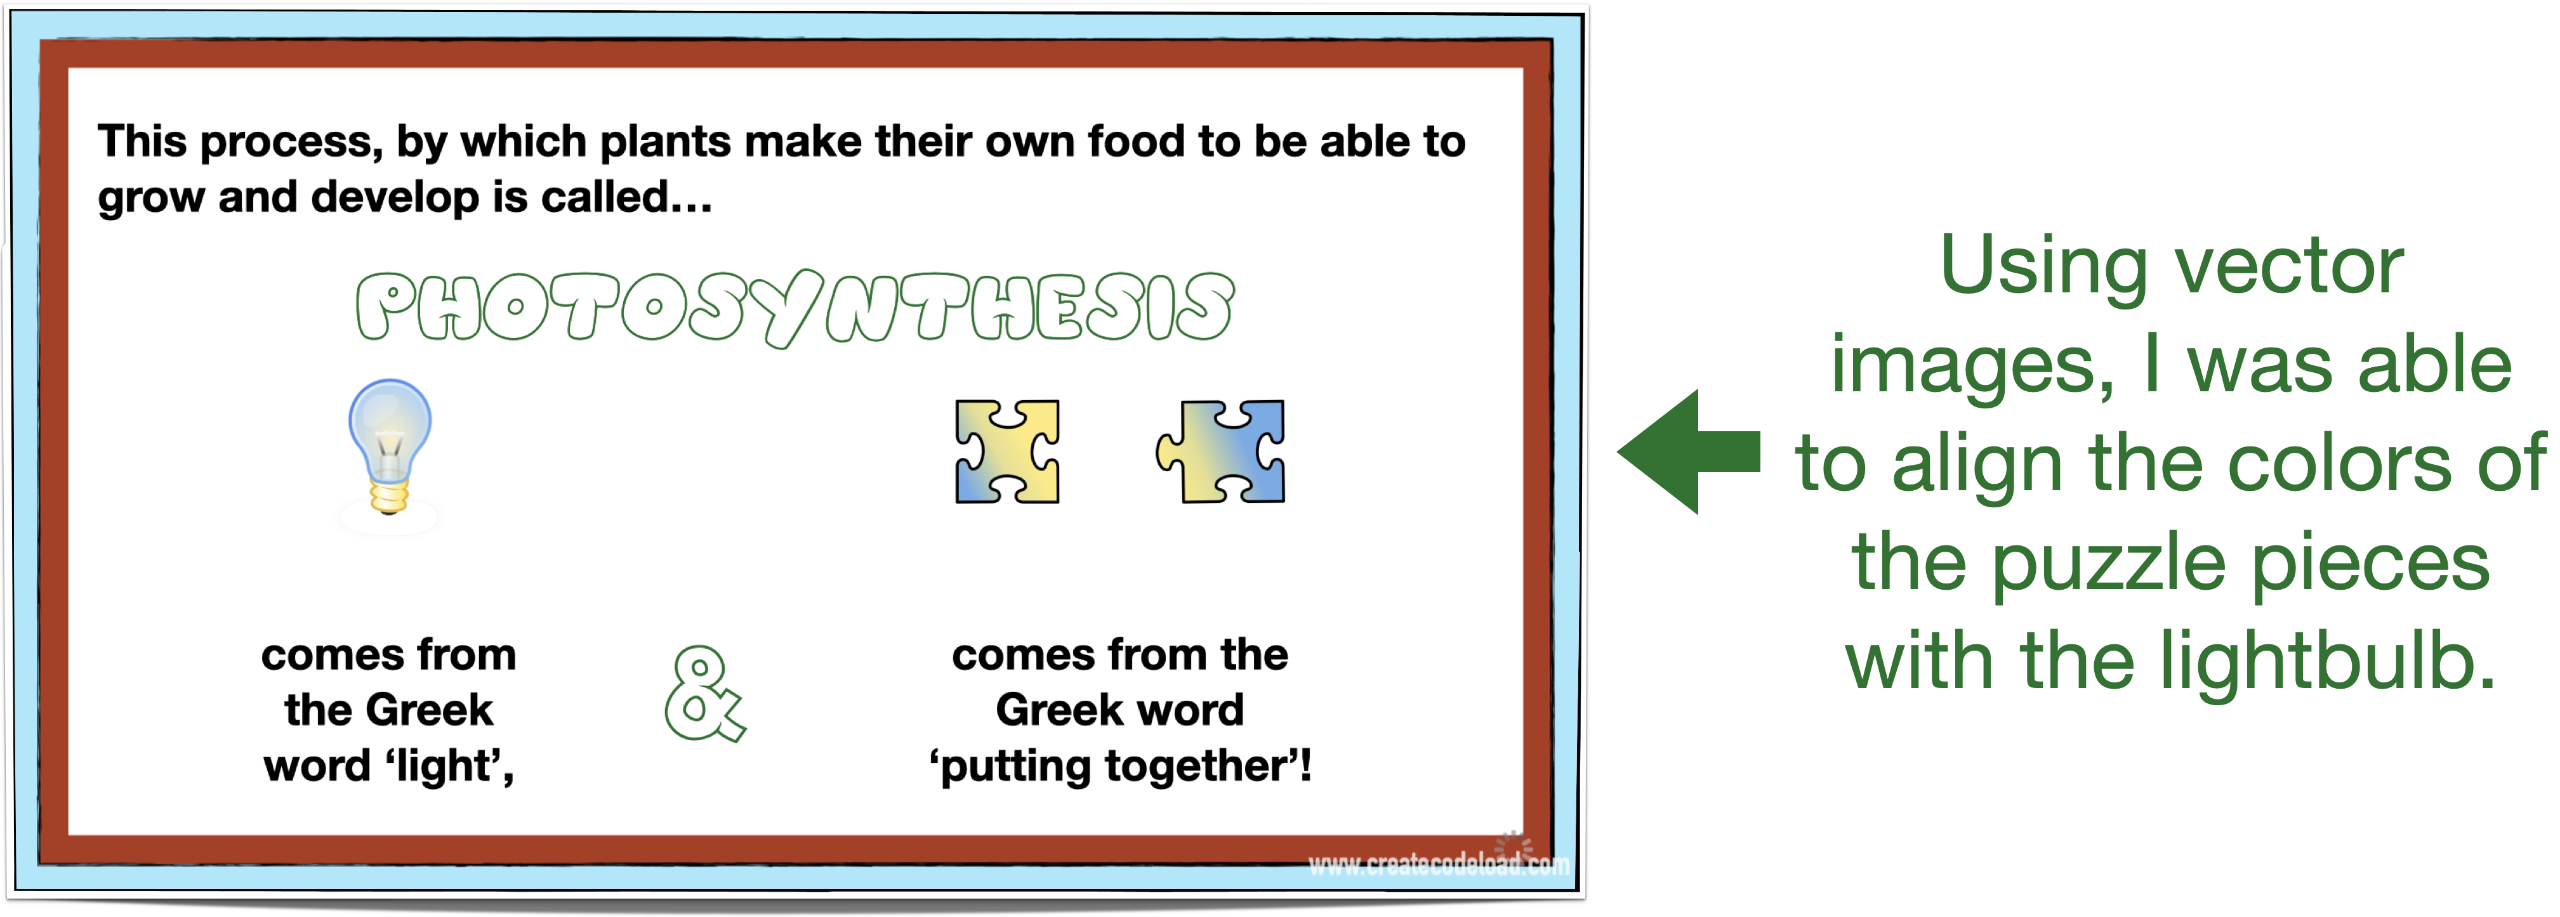
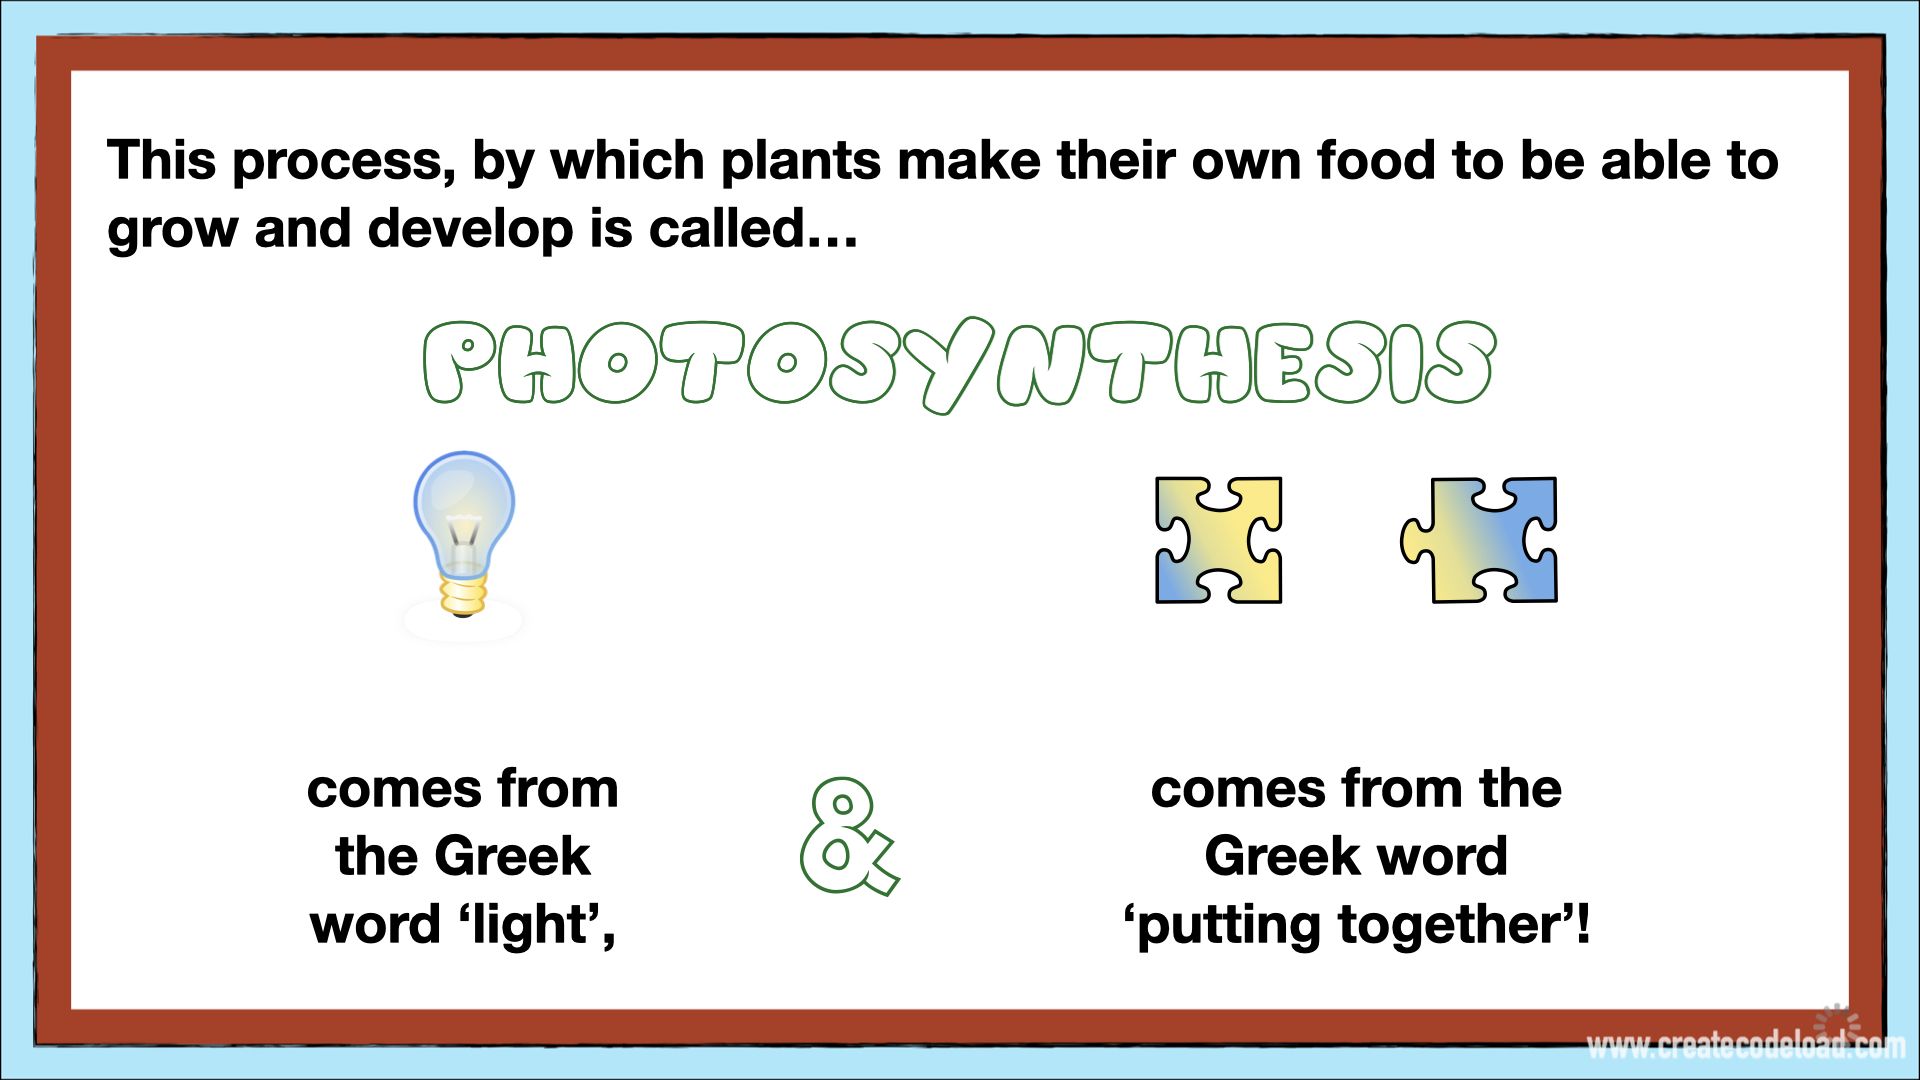
This process, by which plants make their own food to be able to grow and develop is called Photosynthesis. Photo comes from the Greek word 'light' and synthesis comes from the Greek word 'putting together'.
Photosynthesis is the process of putting together carbon dioxide and water in the presence of light.
Step 2: Strategize Visual Aides
Visual aides are instrumental in explaining concepts, guiding the viewer's attention, maintaining focus, and enhancing the overall aesthetic appeal of the lesson. They can take the form of images, shapes, or even text.
During this step, pinpoint locations in your script where visual aides can be seamlessly integrated to amplify the content. Think about where they can elucidate complex ideas, create breaks, or add visual interest.
To help you visualize, here's a snapshot of my script after this step. See those asterisks? Each one marks where I've designated a spot for a visual aide. If you scroll back up to the beginning of this post and rewatch the finished clip, you'll see the exact visual aides I incorporated at those indicated points.
Photosynthesis or How Plants Eat
Plants have a magical ability* to make their own food*.
They do this by converting sunlight*, carbon dioxide* and water* into oxygen* and glucose*.
The oxygen* is released into the air and used by human beings to breath*, and the glucose* helps plants grow and develop*.
This process, by which plants make their own food to be able to grow and develop is called Photosynthesis*. Photo* comes from the Greek word 'light'* and synthesis* comes from the Greek word 'putting together'*.
Photosynthesis* is the process of putting together carbon dioxide* and water* in the presence of light*.
Step 3: Create the Visuals
For visuals to seamlessly blend with your lessons, it's essential to use vector images. The true strength of vector images is the flexibility they offer, allowing you to tailor them exactly to your lesson's aesthetic. Additionally, vector images retain sharpness regardless of size adjustments.
Here's a glimpse into my procedure:
Source Images: I begin by sourcing royalty-free vector images from trusted platforms like Pixabay.
Personalize: Once I have my base image, I use vector editing software to tweak and tailor it to my lesson's needs. Take, for example, the puzzle pieces in the slide below. By aligning their colors with the lightbulb, I was able to produce a unified and harmonious visual experience.
Step 4: Craft the Slides
With your tailored images and visual aides at the ready, it's time to construct the slides for your animated lesson. I recommend Keynote for this task. Conveniently, Keynote is accessible regardless of whether you're working on a Mac, an iPad, or a PC.
Take a look at the completed slides from our photosynthesis example below:

Step 5: Animate!
Visualize each slide as a scene from a theatrical play, where every object is an actor awaiting their cue. As the director of this visual performance, you orchestrate how and when each 'actor' makes its entrance.
Let's delve into a slide from our photosynthesis lesson as an example:
On this particular slide, there are 10 distinct objects set to be animated:
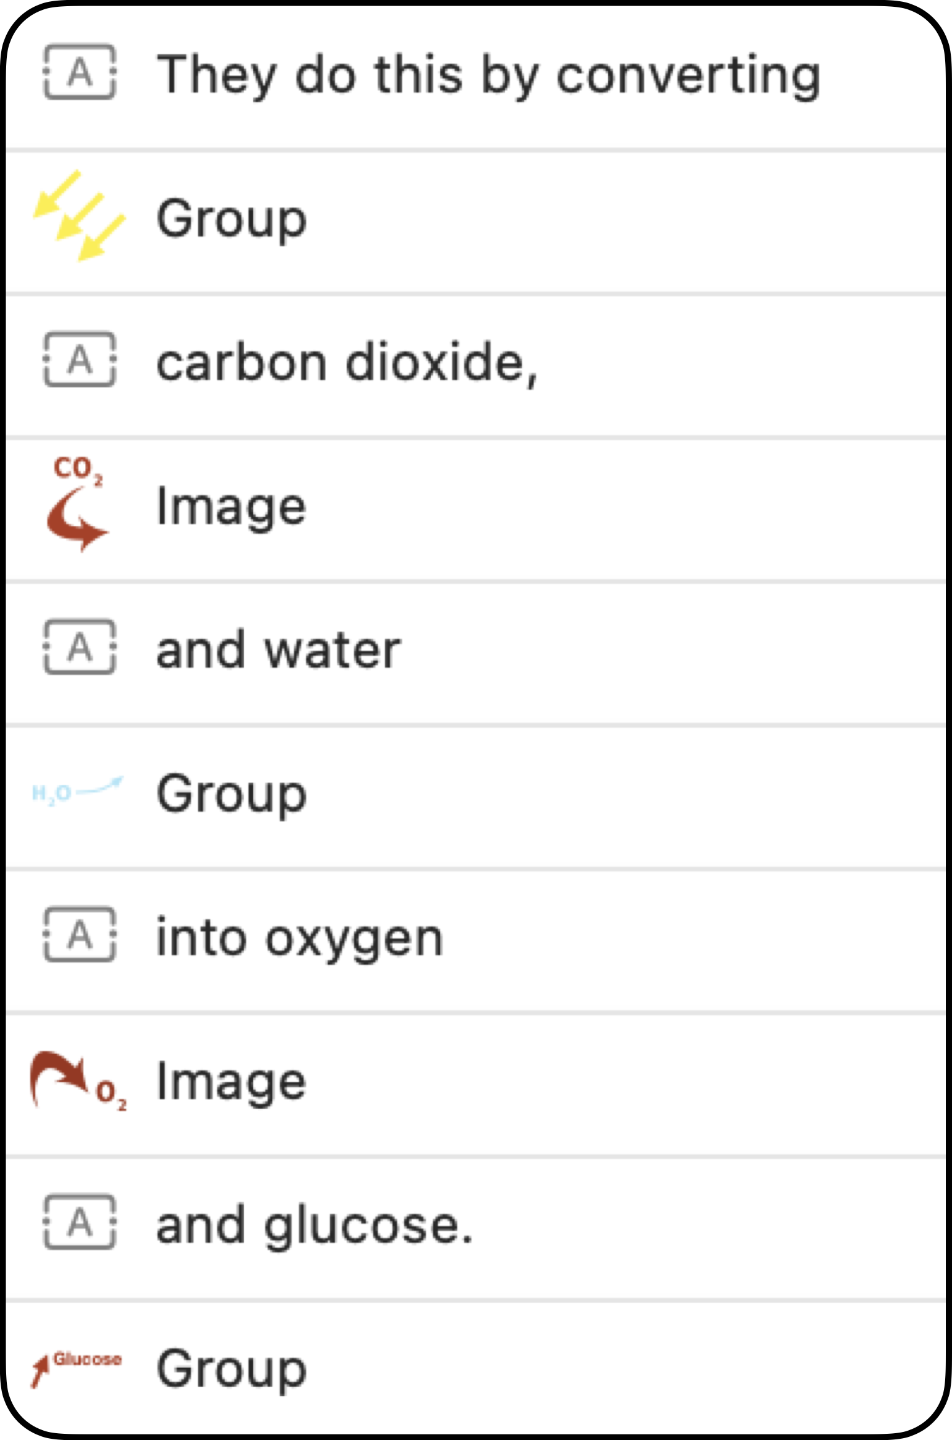
For each object, I utilized Keynote to specify:
- The sequence of its entrance (i.e., after which preceding object).
- Its entrance style, determined by the animation effect chosen.
This meticulous attention to detail ensures that viewers are guided smoothly through the content, enhancing comprehension and engagement.

I hope this peek behind the curtain has illuminated the art of animating lessons for you. My journey mastering this art wasn't a stroll in the park; it was paved with countless YouTube tutorials and a path of continuous refinement.
The silver lining? I've distilled all that hard-earned knowledge into an accessible blueprint for everyone. Recently, I introduced an opportunity for enthusiasts to test the waters by animating an explanation during our 5-day challenge. If you're eager to dive deeper, hop onto the waitlist for this challenge...
For further insights or to spark a conversation, our vibrant Facebook community eagerly awaits your presence...

Until our paths cross again,
Maytal