How to Draw, Animate
and Test a GIF in Scratch
The one thing I get asked about probably more than anything else is how I create the images for the games I teach inside my programs. I originally taught myself how to manipulate vector images in order to create the characters and backgrounds for these games, but I've since gotten accustomed to using this skill in so many other aspects of my life and business. I create all the images for my lessons, this site, and even our business marketing. I've learned how to create amazing birthday cards, invitations and posters, and it all started from acquiring this one seemingly simple skill.
I've learned so much about image creation in the last few years, it was a bit hard for me to decide where to start with teaching what I know. After much deliberation, I decided the Scratch Paint Editor would be a good place to start. The Paint Editor has become so much more powerful with Scratch 3.0, I believe it can provide a great introduction to the topic of vector and image creation.

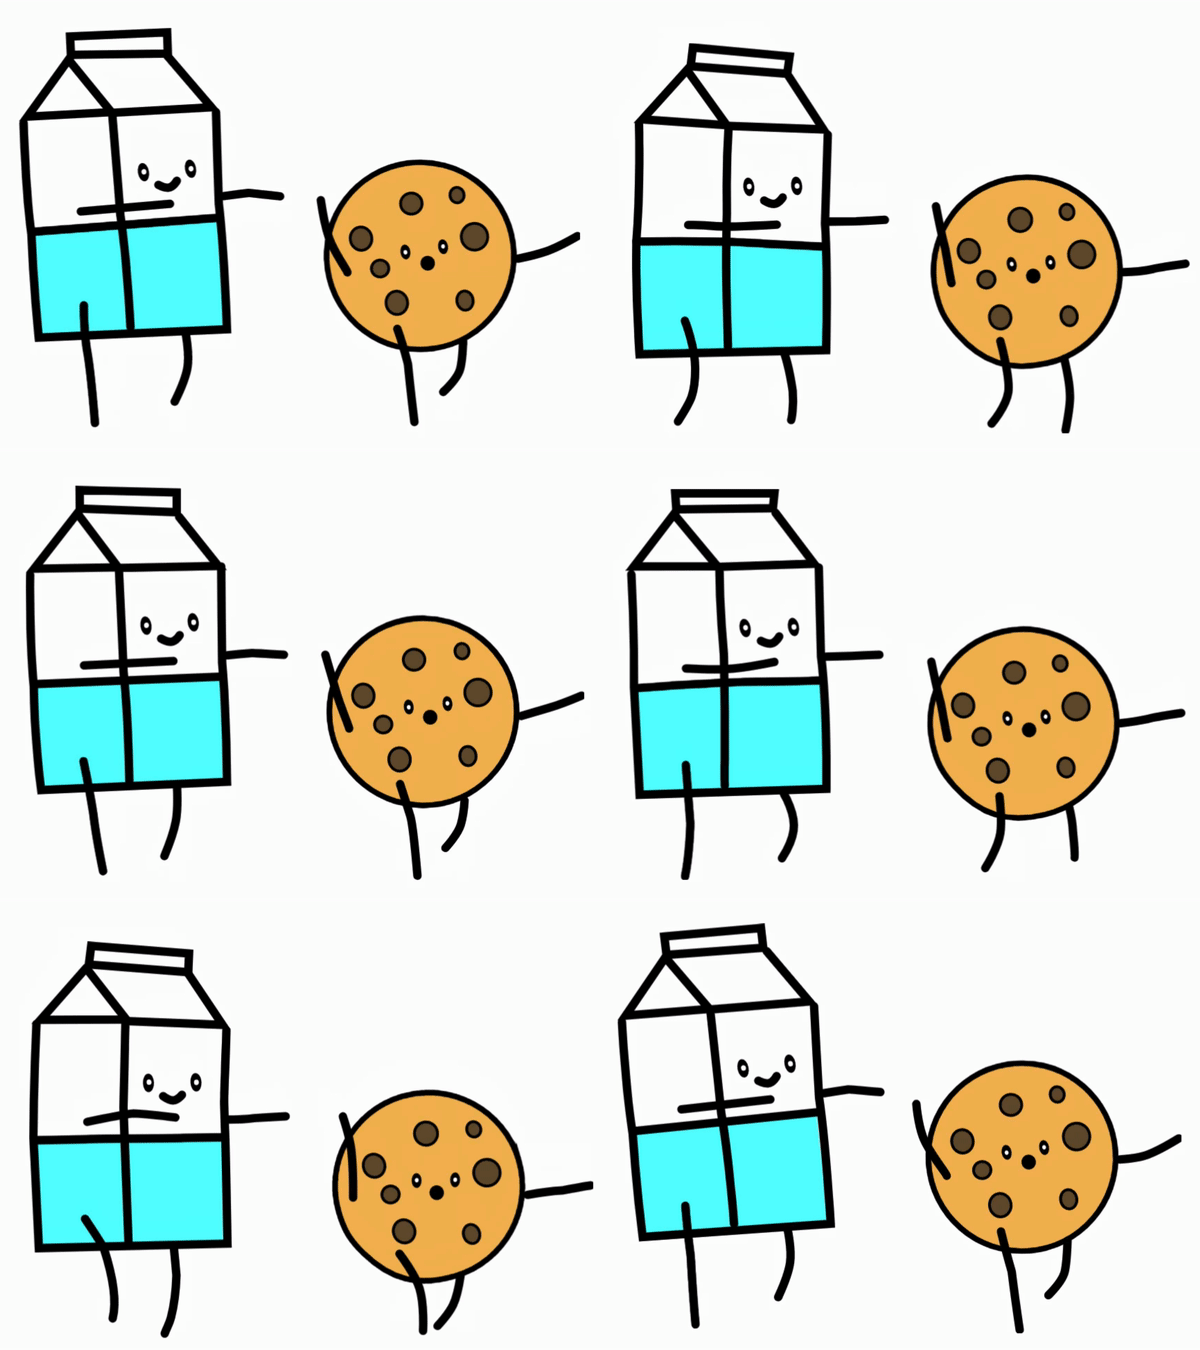
This post will walk you through creating the GIF above in Scratch from scratch. That means you'll use the Scratch Paint Editor to draw each and every frame required to create the animation. If you're not familiar with the Scratch Paint Editor, this will be a great introduction. In fact, that is why I chose this project. I love what it represents (I call it the 'You're a Smart Cookie' GIF), and I believe drawing all the different frames required to create it, will give you just enough practice to start feeling much more comfortable with creating vector images.
I found the experience of drawing the different frames as relaxing as coloring, and I hope you'll get the same experience while picking up this great new skill. Let's get started!

The Starter Project
Click the button below and enter your email address to have the starter project sent to you. The email you'll receive will contain instructions for how to upload the starter project onto your Scratch account. If you're planning on teaching this game, I suggest sharing the project at this point, and then adding it to your Scratch class studio and having your students remix it from there. If you don't have a class studio, you can just share the project's url with your students. As long as you remember to click that 'Share' button inside your own copy of the starter project, your students will be able to remix it into their own Scratch accounts.

Create a GIF Step 1: Draw the Milk Carton!
This first step will introduce you to the Scratch Paint Editor through the drawing of the very adorable milk carton. We will be drawing straight and curved lines and learning the difference between the 'Select' and 'Reshape' tools. I'll also show you a few more tricks like how to group objects to make them easier to manipulate...

Create a GIF Step 2: Draw the Cookie!
While drawing the cookie and completing the milk carton, we'll practice the tools we were introduced to in the last step, while also getting acquainted with a few more of the Paint Editor's tools. In particular, we'll learn about layering objects, the 'Circle' and 'Rectangle' tools and the 'Fill' and 'Outline' properties.

Create a GIF Step 3: Animate the Milk Carton!
Now that we’ve traced over our milk carton and our cookie, it’s time to copy our drawing over to the other costumes, and make slight modifications to it in order to create our animation! I will demonstrate a few techniques which will aid us in this process. These will include selecting and deselecting multiple objects, grouping and ungrouping, as well as the various ways in which the 'Reshape' tool can be used.

Create a GIF Step 4: Animate the Cookie!
The process of adding the extra frames to animate the cookie is very similar to what we just completed for the milk carton in the previous step. However, I believe practicing a bit more will really help with retaining the skills you've just acquired. Plus, ask any toddler, having milk without a cookie is just not the same experience!

Create a GIF Step 5: Test It!
We've made it! It's finally time to switch over to that 'Code' tab and test our animation! We'll only need a few blocks of code to basically tell our sprite to keep on switching costumes every 0.02 seconds. At the end of this short tutorial, I will also show you how to export your animation out of Scratch and create that GIF we've been talking about...

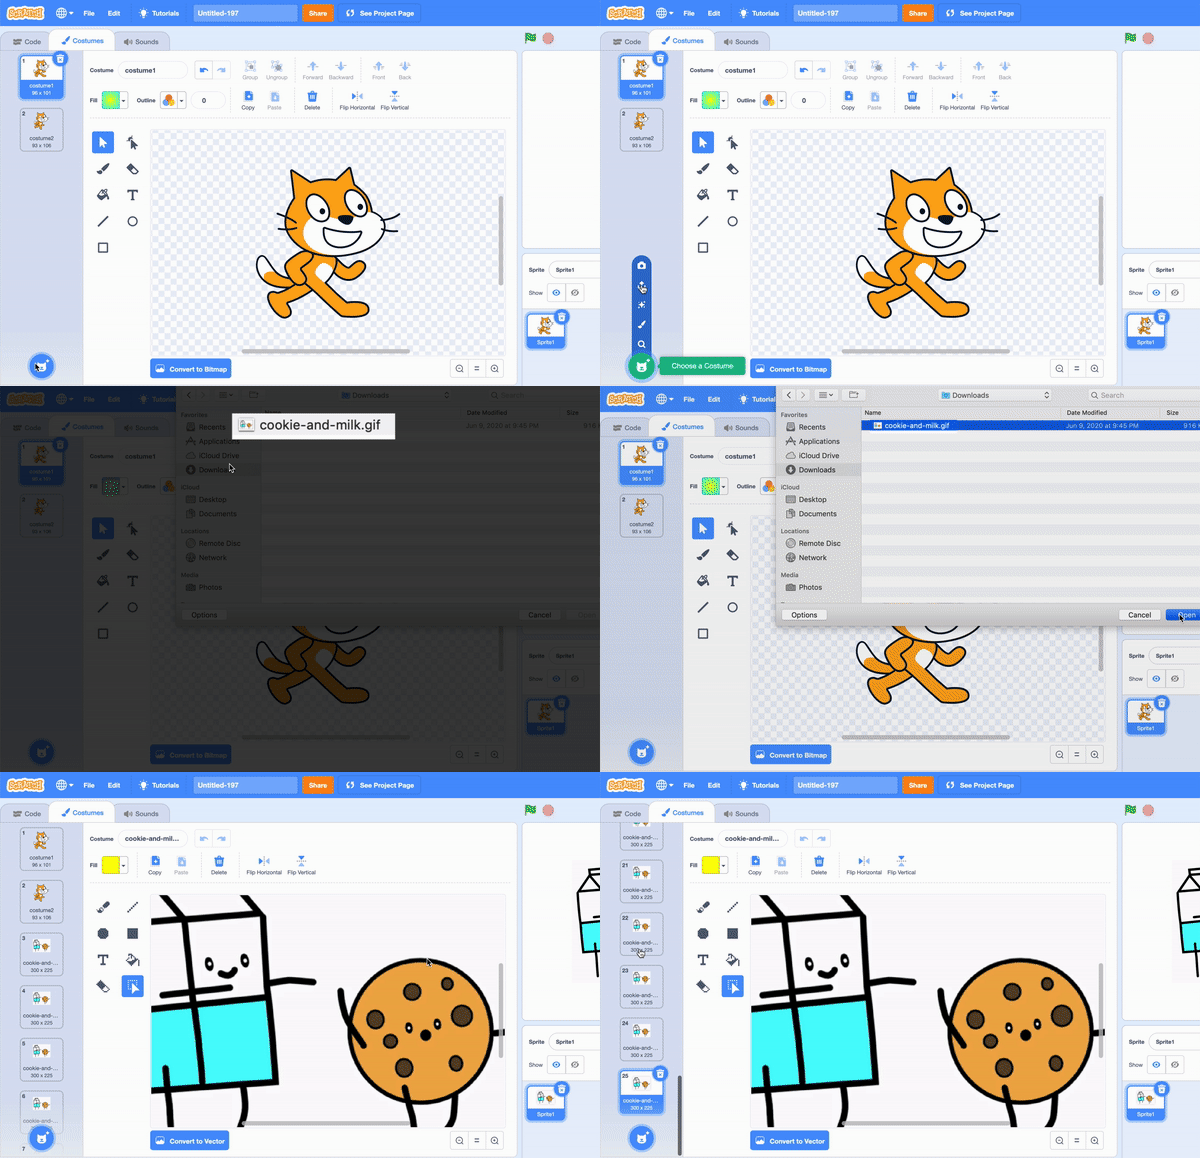
And that completes our Scratch GIF lesson! Did you know you can break any GIF into its individual frames using Scratch? Don't believe me? Watch the short demo below...

Isn't that cool?! You can grab any GIF you find on the internet, and see what it's actually composed of! I think that's really neat, but then again, as my kids love to point out, I'm such a nerd about this stuff!
Make sure you join us on Facebook where we have almost 6,000 teachers giving support, sharing ideas and asking questions about anything and everything related to technology and education. I also always post my tutorials inside the Facebook group first, so you'd be the first to know...
I hope to see you on the inside,


