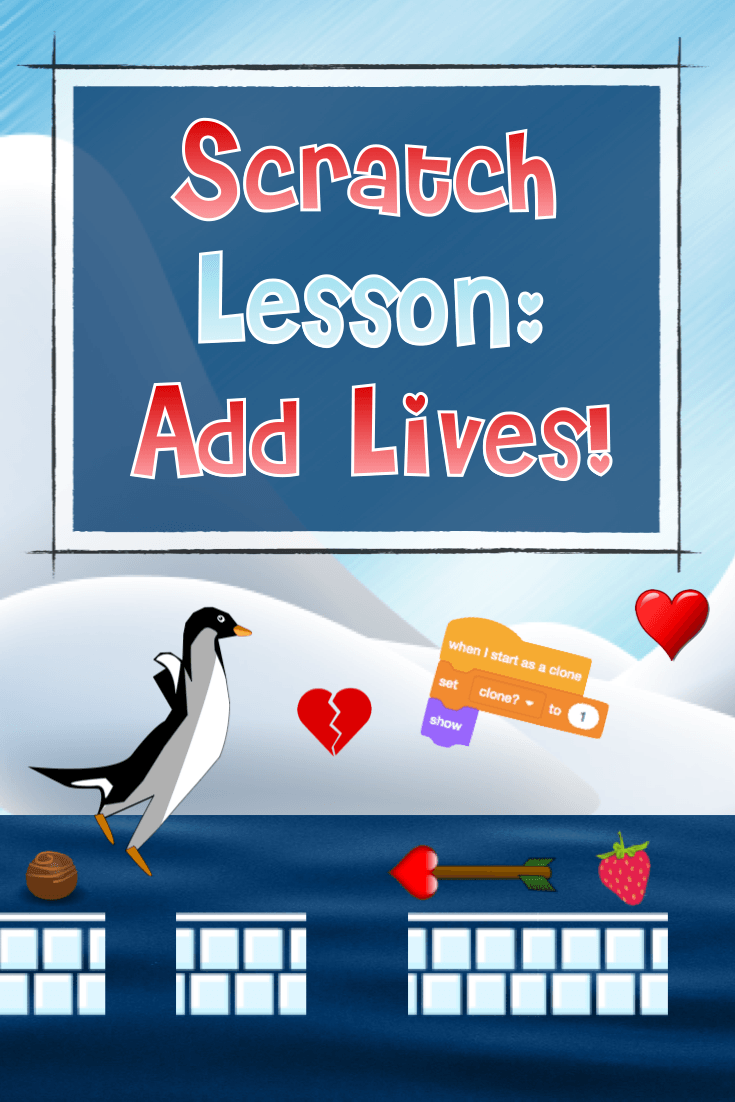
Boost Your Valentine's Game
with Hearts & Lives!
This post is a follow-up to the Valentine’s Scratch Lesson I put together a couple of weeks ago. It will walk you (and hopefully your students!) through adding lives to your Valentine’s game. We’ll then make the game just a bit more challenging and interesting by adding one additional power-up and one additional obstacle to the game – in the form of dropping hearts!

The Starter Project
I highly recommend completing the tutorials in the first part of this lesson first, but if you happen to visit us after Valentine’s or if you’re just curious about how to add lives to a game, I’ve made it possible for you to start with the ‘Add Lives’ tutorial below. What you need to do is ask for the completed Lesson 1 project to be sent to you by clicking the button below. The project that will be emailed to you will have all the functionality we built together in the first lesson, already in it.

Whether you've completed the first lesson or not, if you're planning on teaching this second part, I recommend keeping a shared copy of the completed Part 1 version in your Scratch account. That way, as long as you have the project's url on hand, you can always have a student remix it and start at this point if needed. Although I’m a strong believer in letting students debug their own projects (as that is an important learning experience), sometimes you just need to move everyone along. When I teach my students how to build a game over multiple sessions, I always have a completed working version of last week's lesson on hand just in case...

Scratch Valentine’s Lesson: Part 1 Review
Another thing I do when I teach my own students how to build a game over multiple sessions, is I always start with a review of what we built last time. This helps refresh everyone’s memory and get us all on the same page. Feel free to play the review below in your own classroom. I recommend stopping the video and using the arrow keys to progress through it. That will allow you to move at your own pace and answer questions as those arise.


Valentine's Scratch Lesson Add-On #1: Add Lives!
To add lives to our game, we'll need to first create a place to store the number of lives we have at any given time. Then, we'll have to set the number of lives we'd like our game to start with. Finally, we'll need to locate the condition we previously used to end the game. Instead of ending the game at this point, we're going to decrease the number of lives, and then check if there are any lives left in the game. If there are lives left, we'll continue the game with one less life, but if there aren't, we'll end the game at this point.
Valentine's Scratch Lesson Add-On #2: Dropping Hearts!
In this second and last add-on, we'll make use of the 'Hearts' sprite and its two costumes, the heart and the broken heart. We'll use the heart as a power-up, and the broken heart as an obstacle. This sprite is going to behave similarly to our 'Sweets & Arrows' sprite, and so we'll be able to re-use much of our code. But unlike the strawberry, the chocolate, and the heart arrow, which travel horizontally along the stage, we'll program the clones of the 'Hearts' sprite to drop from the top of the stage.

And that completes the second part of the Valentine's Scratch lesson! As I was creating the tutorials for this post, it occurred to me that adding lives to a game is one of those processes I've spoken about before. If you're familiar with the Typewriter Effect lesson or the Coordinate Plane lesson, then you know that I've started creating a series of lessons, cards, and even posters, each focusing on how to create one particular effect or feature in Scratch. I figured it would be helpful for students to refer back to these cards and posters when creating on their own.

So, as you can see in the images above, I've started creating the cards for the process of adding lives to your game. But since this Valentine's post is time-sensitive and needs to come out as soon as possible, I'll have to publish the cards (and maybe a poster?) in another post. That will give me a chance to post inside our Facebook group, and get feedback from our amazing members, as well. So, if you have feedback about the cards and would like to contribute to this project, or if you just want to connect with the over 3,500 other educators inside our group, please make sure to join us on Facebook. We have an amazing group of teachers who are passionate about technology and education, and the support, encouragement (and free resources!) you'll find inside this group, is invaluable!

I hope you enjoy teaching this lesson as much as I enjoyed creating it!
Warm wishes for a happy Valentine’s Day!